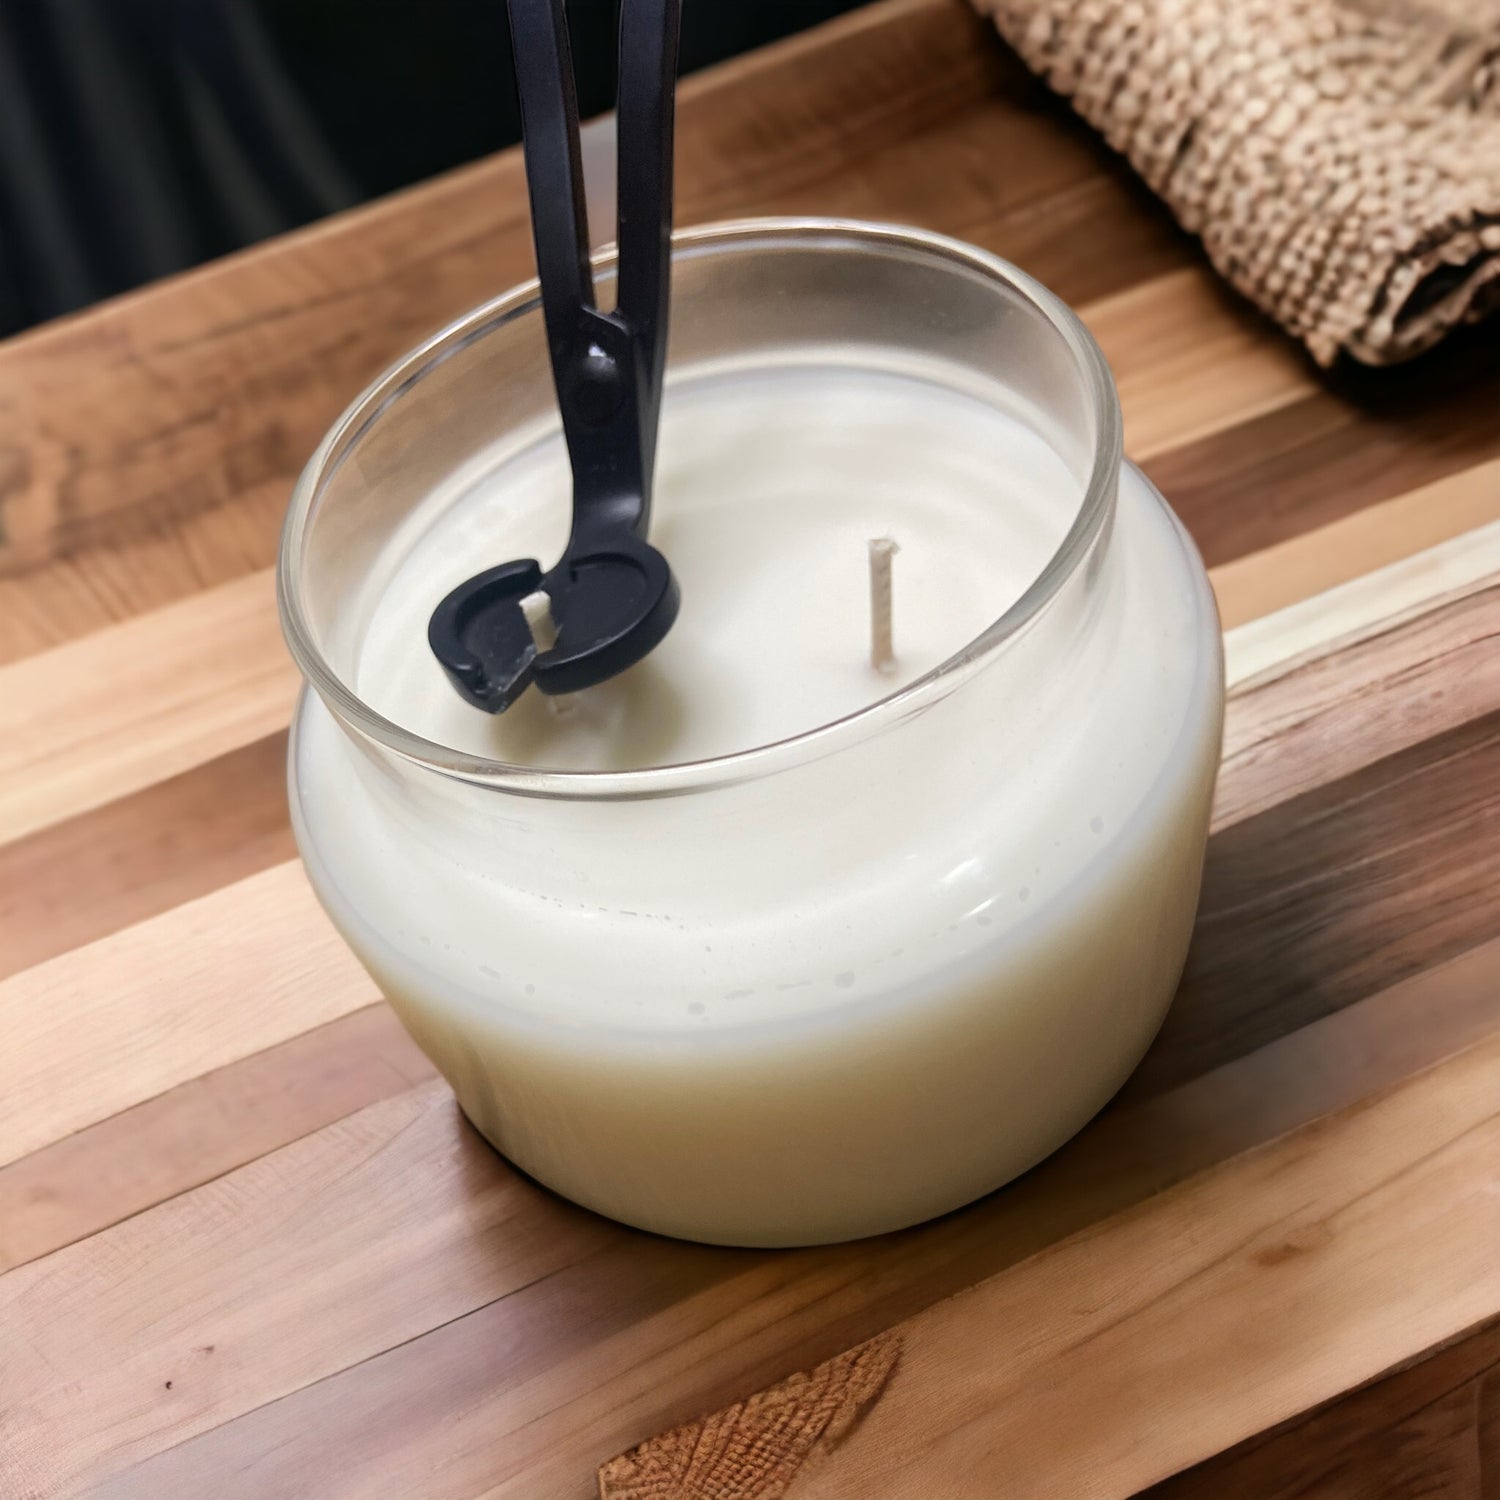
How To Fix Tunneling
if your candle starts to tunnel (major wax hang up on side of jar), your wick can have troubles staying lit. if it hasn't gone too far - oftentimes it can be fixed.
how?
Try the tin foil method.
1. Light your candle. Poke a hole in a piece of
aluminium foil and place around the top of the
candle.
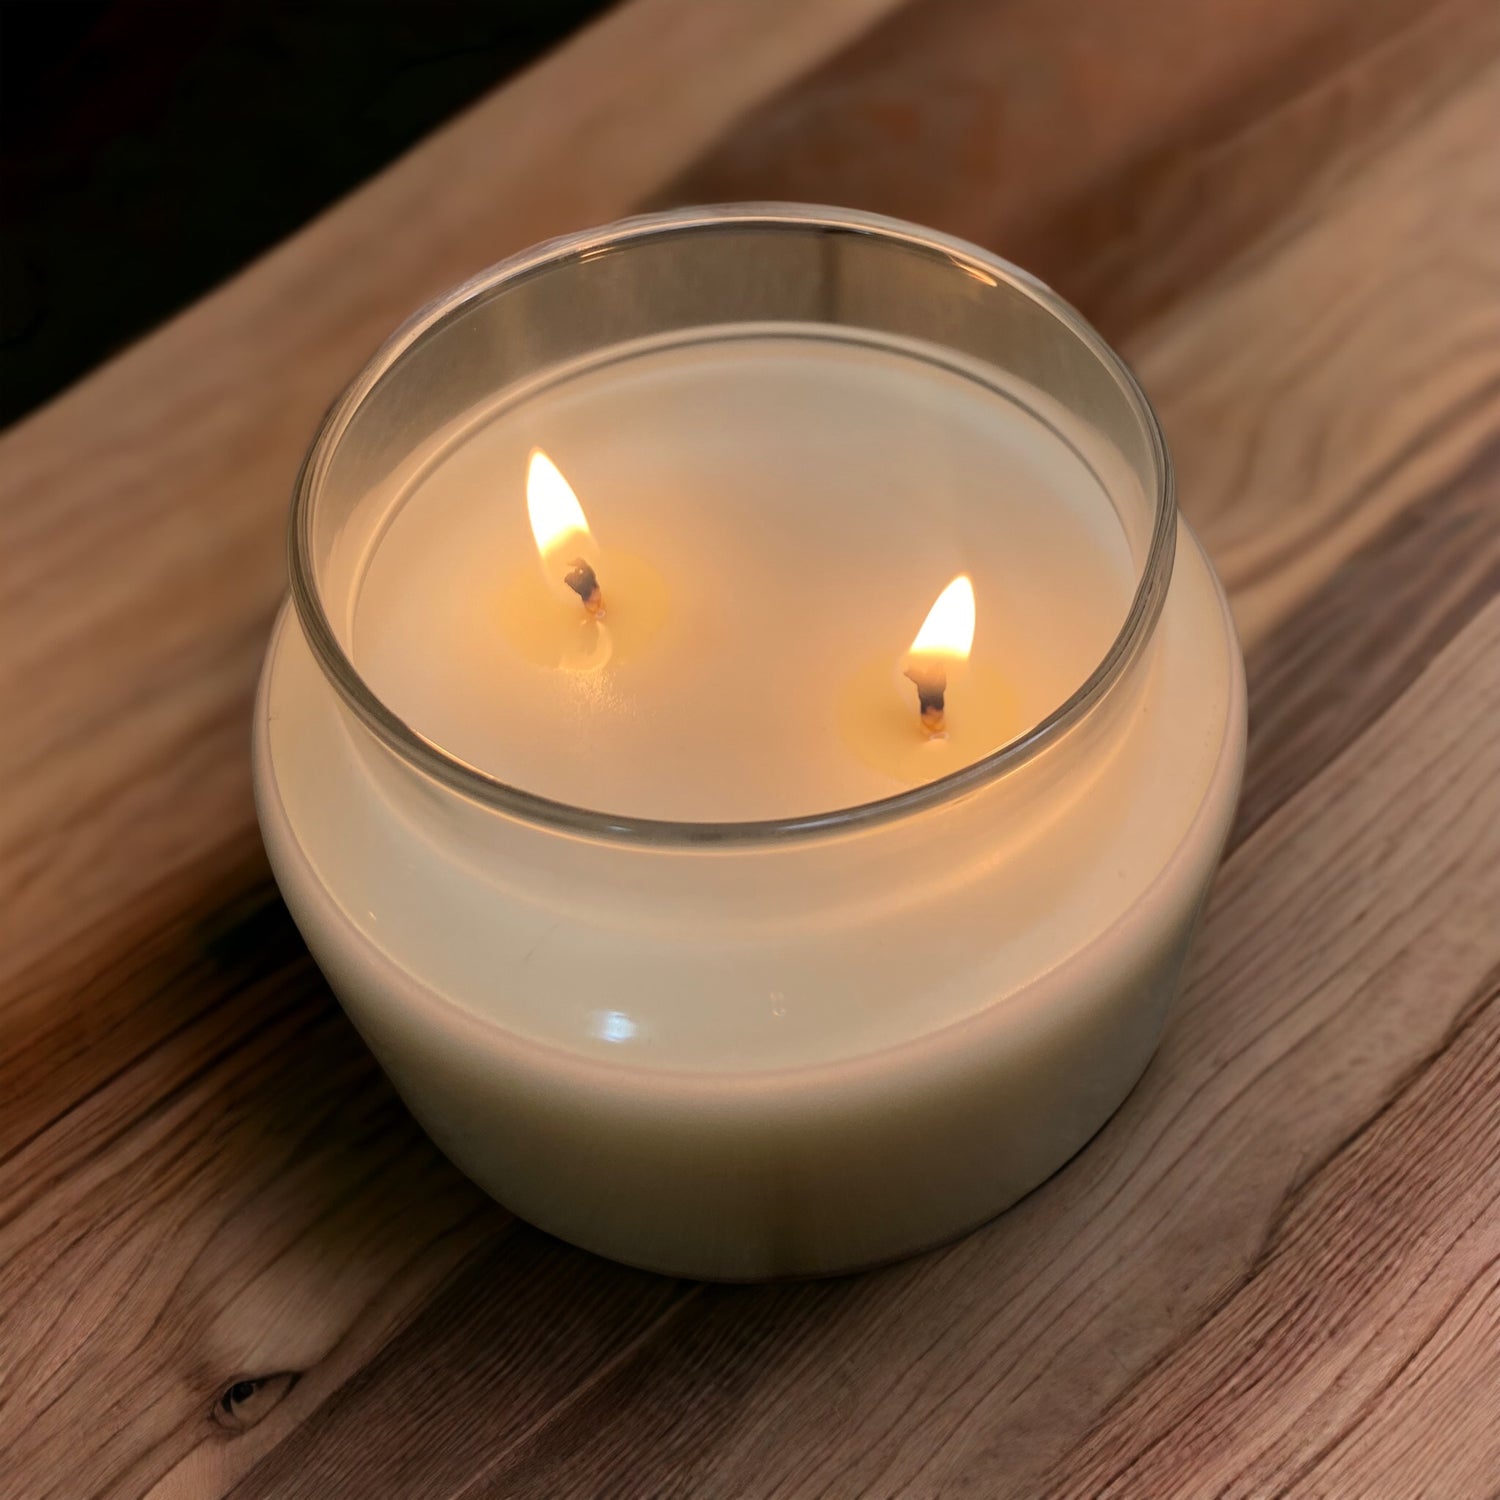
2. This allows the heat to stay in and melt the rimy of hard wax on the sides. Keeping your candle in eye sight at all times, leave it sitting for 1-2 hours. Check every half hour, and eventually you'll have a good even wax pool and a re-set candle. Please be careful when removing the foil, it will be hot!
3. Note: If there's too much liquid wax that is now drowning the wick, use a tissue paper to soak up the excess!
The aim of the foil method is to increase the heat trapped at the top of the candle, hopefully
enabling the stubborn hard wax left up the sides to melt.
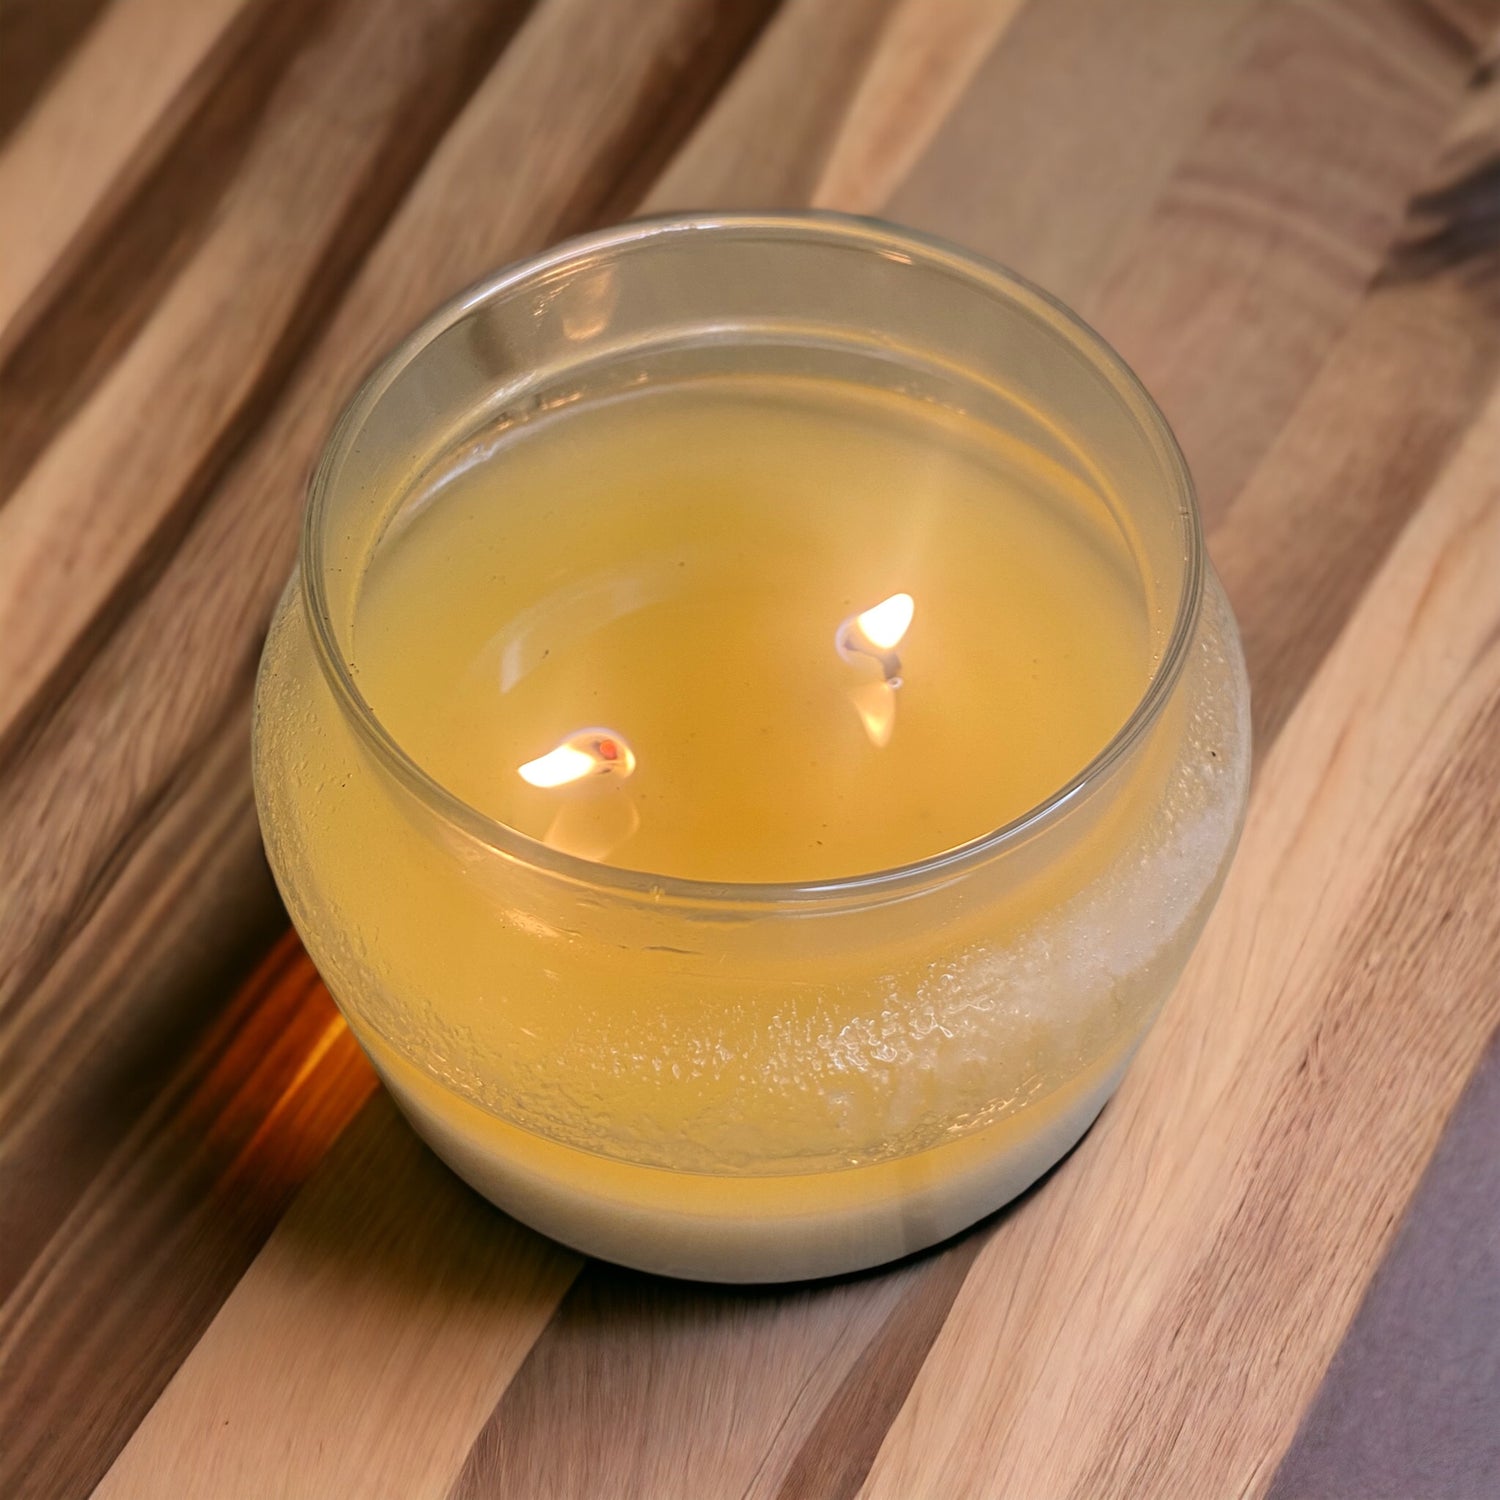
Remember, it's all in the first burn.
The first time you light and burn your new candle really sets the stage for how well the candle will perform throughout its life. Make sure you are letting the wax melt all the way to the edges on the first (and consecutive) burn!